In this post, you will learn how to self draft oversized collar pattern.
Are you looking for a way to spice up your wardrobe with a trendy and versatile accessory? Do you want to learn how to self draft your own oversized collar pattern that can transform any dress or top into a stunning outfit? If so, you’re in the right place!
Beginner friendly
In this post, I’m going to show you how to self draft an oversized collar pattern that is easy, fun, and perfect for beginners. You’ll also get access to a video tutorial that will guide you through every step of the process. By the end of this post, you’ll be able to create a beautiful oversized collar that you can wear with any outfit, from casual to formal.
Oversized collars are one of the hottest fashion trends of 2024, and for good reason. They add a touch of elegance, charm, and personality to any look, and they can be customized to suit your style and preference. Whether you prefer a classic Peter Pan collar, a chic scalloped collar, or a funky frilled collar, you can make it yourself with this simple and easy method.
So, what are you waiting for? Grab your sewing machine, some fabric, and some scissors, and let’s get started!

What is an Oversized Collar?
An oversized collar is a type of collar that is larger than the usual size for a garment. It can be a detachable collar that you can add to any outfit, or a part of a shirt, blouse, dress, or coat. Oversized collars are a popular fashion trend that can add some flair and personality to your look.
.JPG?ssl=1)
Some examples of oversized collars are:
- Peter Pan collar: a round, flat collar that lies on the neckline of a garment.
- Sailor collar: a large, square collar that hangs over the shoulders and back of a garment, often with stripes or other decorations.
- Ruffle collar: a collar that has one or more layers of fabric gathered or pleated along the edge, creating a frilly effect.
- Shawl collar: a collar that forms a continuous line around the neck and front of a garment, often with a V-shaped notch at the center.
.JPG?ssl=1)
You can add an oversized collar to any outfit that has a plain or simple neckline, such as a sweater, a T-shirt, a dress, or a jumpsuit. You can also mix and match different colors, patterns, and fabrics to create contrast and interest. For example, you can wear a white lace collar over a black sweater, or a denim collar over a floral dress. You can also accessorize your collar with pins, brooches, or necklaces to make it more fun and unique.
.png?ssl=1)
Tools and Materials for Pattern Drafting Oversized Collar Pattern
Before you start drafting your oversized collar pattern, you will need some tools and materials to help you with the process. Here is a list of what you will need:

- A shirt or blouse pattern that fits you well. You can use any pattern that has a simple neckline, such as a button-down shirt, a T-shirt, or a blouse. You can also use a ready-made shirt or blouse as a reference, as long as it fits you well.
- A piece of drafting paper. You will use this to make adjustments or changes to your collar shape, if you want to. You can use any kind of drafting paper, such as vellum, bond paper, or layout paper.
- A piece of tracing paper. You will use this to trace the neckline of your shirt or blouse pattern and draw the shape of your collar. You can use any kind of tracing paper, such as pattern paper, parchment paper, or tissue paper.
- A pencil and a ruler. You will use these to mark the center front, center back, and shoulder seams on the tracing paper, and to draw straight lines for your collar shape. You can also use a compass or a French curve to help you draw curved lines for your collar shape.Grab here for free my 6 french curved rulers.
- A pair of scissors. You will use these to cut out your collar pattern from the tracing paper. You can use any kind of scissors that are sharp and comfortable to use, such as fabric scissors, paper scissors, or craft scissors. Learn more on scissors from this post.
.png?ssl=1)
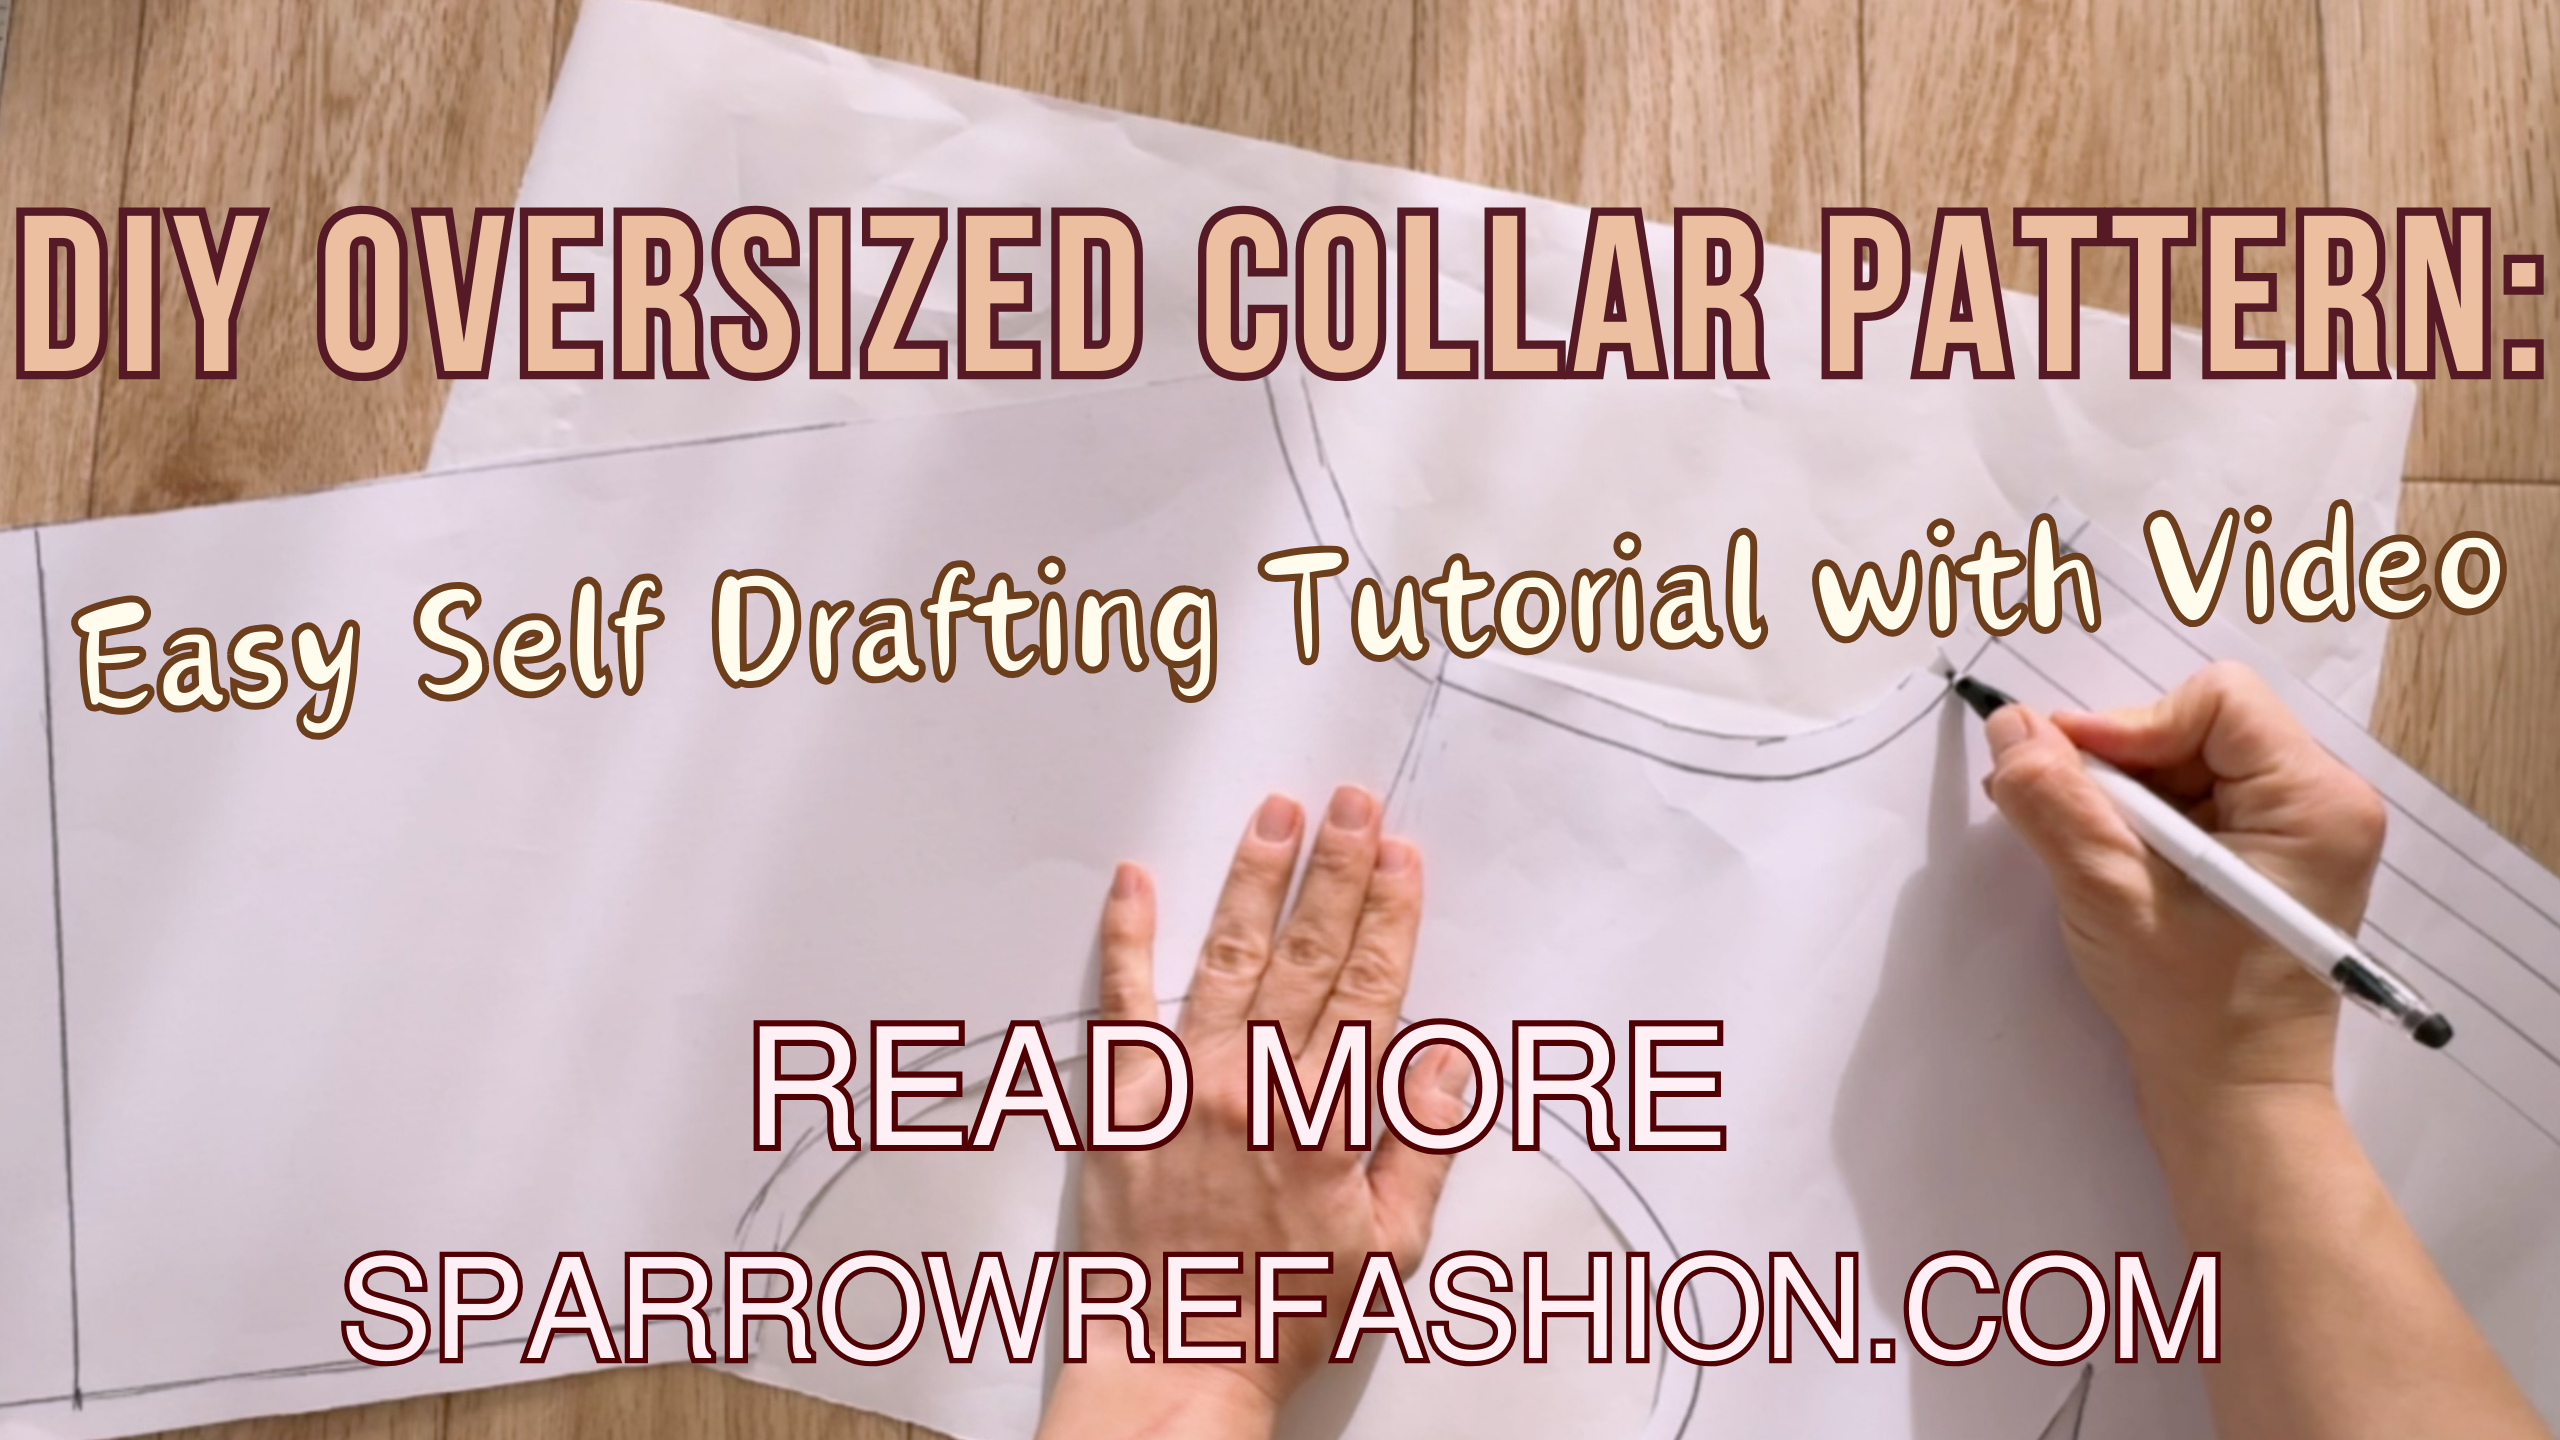
How to Draft an Oversized Collar Pattern
The first step to sew an oversized collar is to draft your own pattern. This way, you can customize the shape, size, and style of your collar to suit your preference. Here are the steps to draft an oversized collar pattern:
.JPG?ssl=1)
Preparation:
Join the front and back pattern pieces at the neck points, making sure the shoulders are aligned
.JPG?ssl=1)
Make a 1.5-2 cm overlap at the shoulder point on the armhole.
This will avoid “skirting” which is when the outer edge is a bit too long and creates a bump on the outside edge of the collar.
.JPG?ssl=1)
Step 1: Trace the Neckline
The first step is to trace the neckline of your shirt or blouse pattern on a piece of tracing paper. You can use the front and back facing pieces as a guide, or you can trace the neckline directly from the bodice pieces. Make sure you mark the center front, center back, and shoulder seams on the tracing paper. You can also add some width to the neckline if you want a more dramatic collar.
.JPG?ssl=1)
Step 2: Draw the Collar Shape
The next step is to draw the shape of your collar on the tracing paper. You can use any shape you like, such as a round, pointed, or square collar. The key is to make the collar larger than the neckline, so that it stands out and creates a contrast. You can also add some curves or angles to the collar edge for some extra style. You can use a ruler, a compass, or a French curve to help you draw the collar shape.
.heic?ssl=1)
.JPG?ssl=1)
.heic?ssl=1)
.JPG?ssl=1)
Mark 1.5cm below the centre front neckline point. This will make the collar curl a little when it’s finished.
.JPG?ssl=1)
Step 3: Cut Out the Collar Pattern
The final step is to cut out the collar pattern from the tracing paper. You should have one piece for the upper collar and one piece for the under collar. The upper collar is the part that will be visible on the right side of the garment, and the under collar is the part that will be hidden on the wrong side of the garment. To make the under collar slightly smaller than the upper collar, you can trim about 1/8 inch from the outer edge of the under collar pattern. This will help the collar roll smoothly and prevent a visible seam.
.JPG?ssl=1)
.JPG?ssl=1)
Add markings on pattern
.JPG?ssl=1)
.JPG?ssl=1)
Step 4: Enjoy Oversized Collar Pattern
You have just drafted an oversized collar pattern. Now easily you can use this pattern to add a stylish and trendy collar to any shirt or blouse. You can also customize the collar by choosing different fabrics, colors, or prints, as well as add some embellishments, such as buttons, lace, or embroidery, to make your collar more unique.
.JPG?ssl=1)
.JPG?ssl=1)
Watch the Video Tutorial
If you want to make your own oversized collar, you can watch the video tutorial below for visual guidance. The video tutorial shows you how to self draf the collar step by step. You can also subscribe to my YouTube channel and my blog for more sewing tips and tutorials.
[Watch the video tutorial here]
.png?ssl=1)
Ready Oversized Collar Pattern !
You’ve learned how to self draft an oversized collar pattern that can add some flair and personality to any dress or top. This is a fun and easy project that you can customize to your liking, whether you want a classic, chic, or funky look. Plus, you can use up some of your fabric scraps and create a unique accessory that no one else has.
.png?ssl=1)
Oversized collars are a hot fashion trend that you can easily DIY with this free pattern and video tutorial. You don’t need any fancy equipment or skills, just some basic sewing tools and a bit of creativity. So, what are you waiting for? Draft the pattern, grab your fabric, and start sewing your own oversized collar today!
In this post, you have learned how to draft oversized collar pattern.
This post has affiliate links * Affiliate Link. This means that if you click on the link and purchase an item, I will receive a small percentage of your purchase (at no extra cost to you).
Leave a Reply