


In this post, you will learn how to make 3 types of fabric bows with free patterns.
Welcome to the delightful world of DIY crafts! Today, we’re diving into the charming art of fabric bow making. Whether you’re a seasoned crafter or just starting out, this guide is designed to make creating cotton bows a breeze. With my free fabric bow patterns, you’ll learn how to craft three distinct styles of bows that add a touch of elegance to any project. So grab your sewing kit, and let’s start this fabric bow DIY journey together!

What is Fabric Bow

A fabric bow is a decorative accessory made by tying a piece of fabric or ribbon into a knot with loops and tails, resembling the shape of a bow tie. It’s commonly used in fashion, hair styling, gift wrapping, and home decor. The term can also refer to a pattern or design that mimics this shape, often used in sewing projects. Fabric bow DIY projects are popular among crafters, allowing for personalized and creative expressions using various fabrics, including cotton. They can be made in different sizes and styles, often enhanced with a free fabric bow pattern for ease of creation.
Materials & Tools Needed:
Begin by assembling the following items:

Materials:
- Fabric: The fabric is the main component and determines its texture and appearance. Read more on fabrics here.
- Bow template: A pattern helps ensure consistency in size and shape for your bows. It’s especially useful for beginners to achieve professional-looking results.(free pattern available in this post)
Tools:
- Sewing machine or needle and thread: These are essential for stitching the fabric pieces together to form the pattern. A sewing machine can speed up the process, while hand-sewing allows for more control and is portable.
- Scissors: Sharp scissors are necessary for cutting the fabric cleanly and precisely according to the template. Learn more on using scissors.
- Pins: Pins hold the fabric pieces in place before sewing, ensuring accuracy in the final product.
- Iron and ironing board: An iron is used to smooth out any wrinkles in the fabric before cutting and after sewing, giving your diy accessory a neat, finished look.

You will also need a magnetic seam guide or a magnet to help you sew evenly.
Choosing the Right Fabric for Bow Making:
When it comes to creating fabric bows, the choice of fabric plays a pivotal role in the final look and feel of your project. Cotton fabric is a popular choice due to its versatility, ease of handling, and wide range of patterns and colors. It’s perfect for those just starting out as it’s forgiving and easy to manipulate.
For those looking to add a touch of luxury or sophistication to their fabric bow making, fabrics like satin or silk are excellent choices. These materials can elevate a simple fabric bow headband or fabric bow tutorial project from basic to chic. The smooth texture and sheen of satin, or the delicate, fluid drape of silk, can create stunning fabric bows suitable for special occasions.
Read more on different fabric , learn their advantages and disadvantages here.

Fabric Bow Template – 3 Types !

Access your free fabric bow patterns here!
How to Make Fabric Bow
Cutting and Preparing the Fabric:
After picking your fabric, cut out the pieces for your bow. Snip two identical rectangles for the bow loops and a smaller one for the center. Use a template to trace and cut accurately. Iron the pieces to ensure they’re wrinkle-free for sewing.

Tutorial 1: Classic Fabric Bow
- Fold the bow piece in half lengthwise, right sides together.
- Stitch down the long edge with a 1cm | 0.39 in seam allowance.
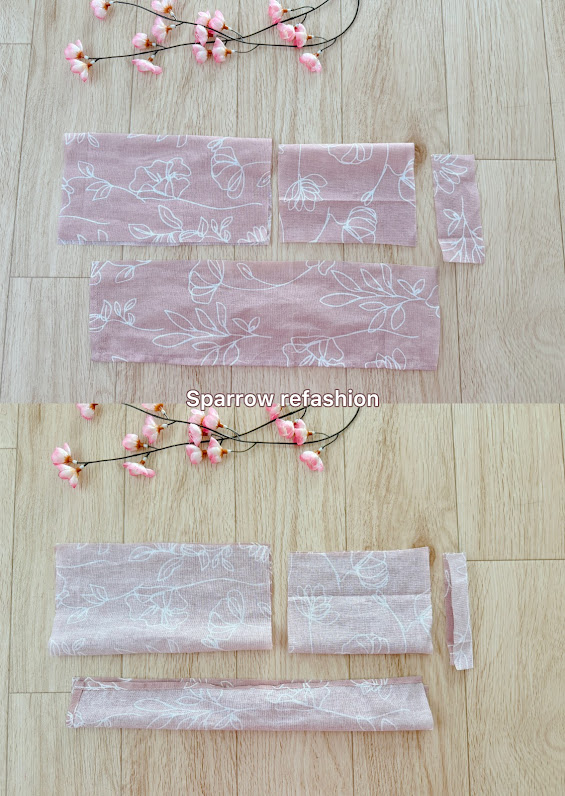
- Sew the long sides, leaving a 4 cm gap.
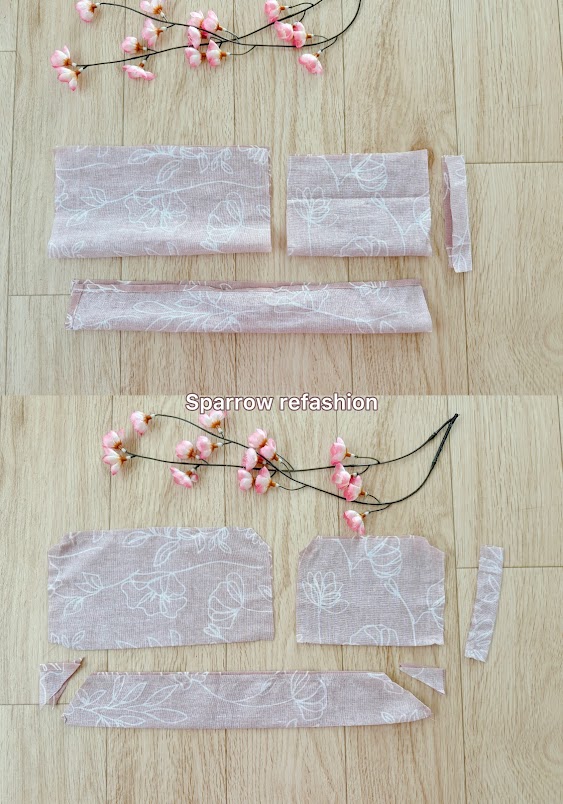
- Turn right side out.
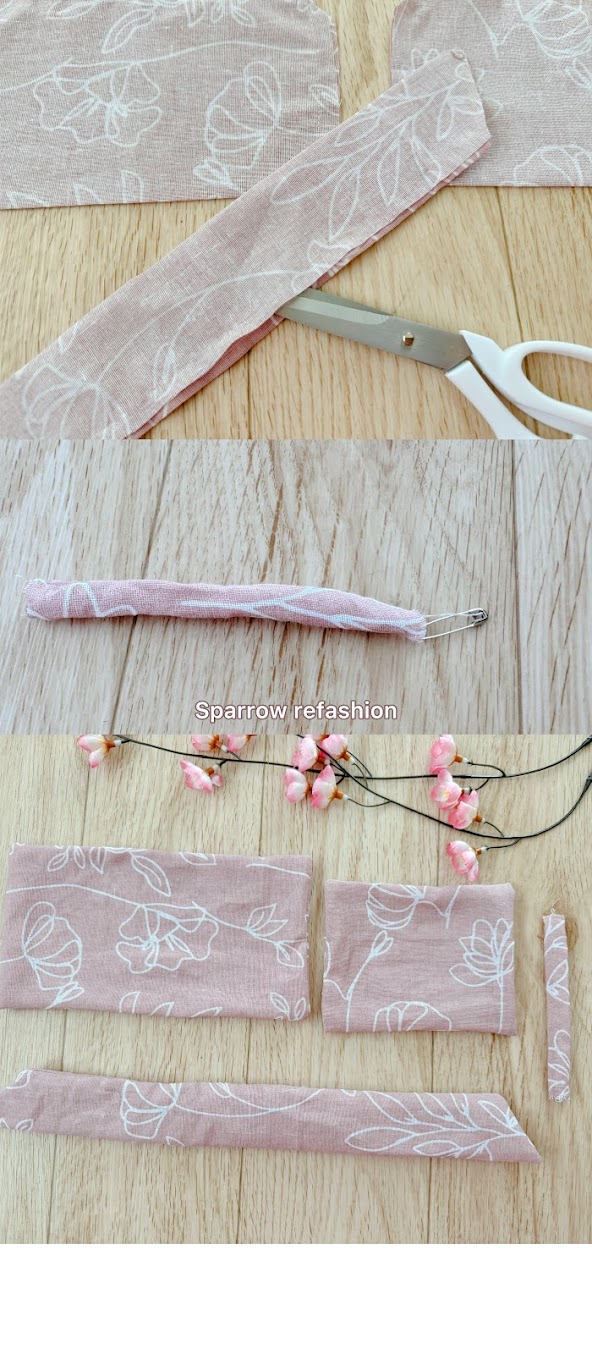
- Press flat.
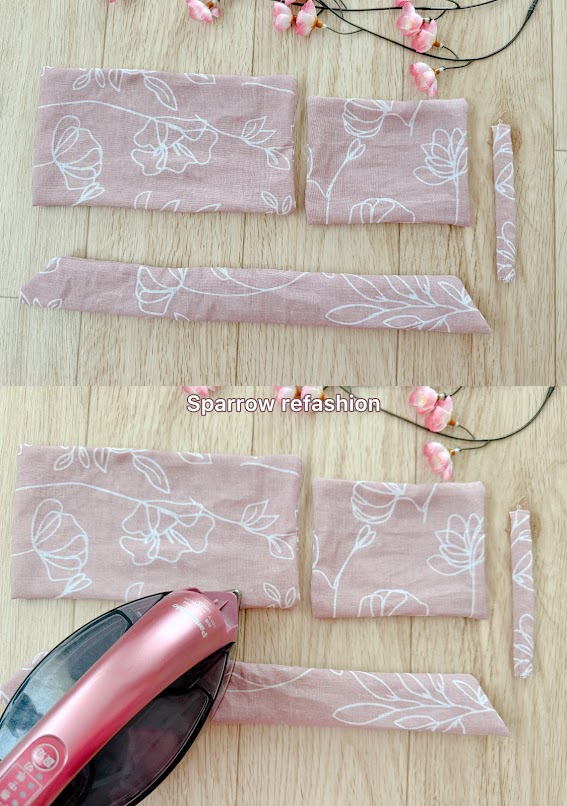
- Form a bow with a pin.
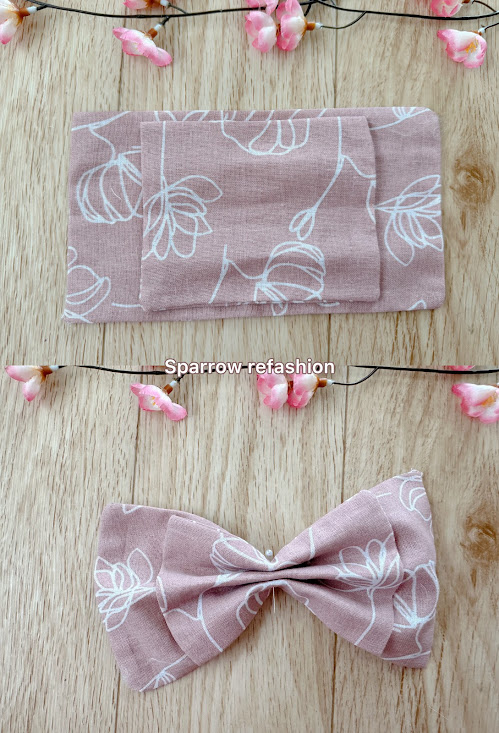
- Add bow tails.
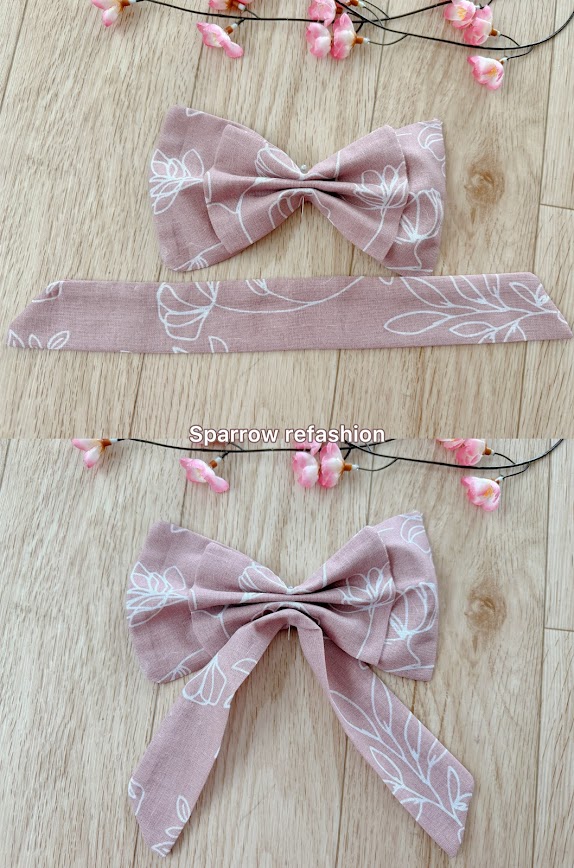
- Place on the center strip, pin, sew.

- Trim excess fabric.

Fabric bow is ready !
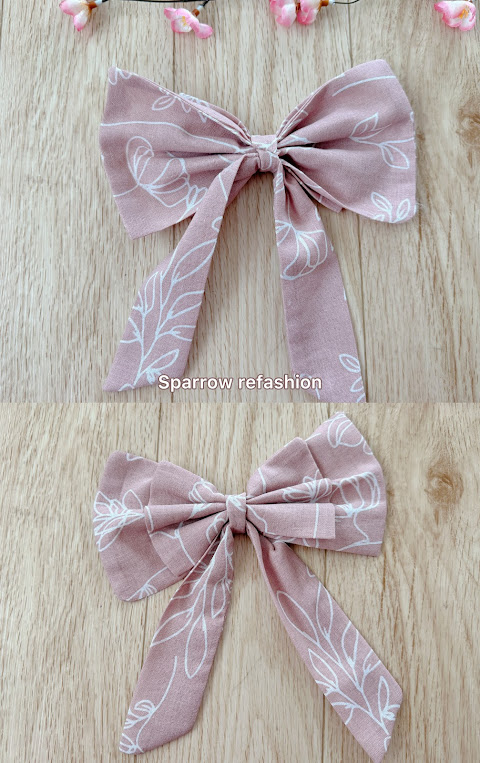
Tutorial 2: Sweet Fabric Bow
- Fold the bow piece in half lengthwise with right sides together and stitch down the long edge with a 1cm | 0.39 in seam allowance
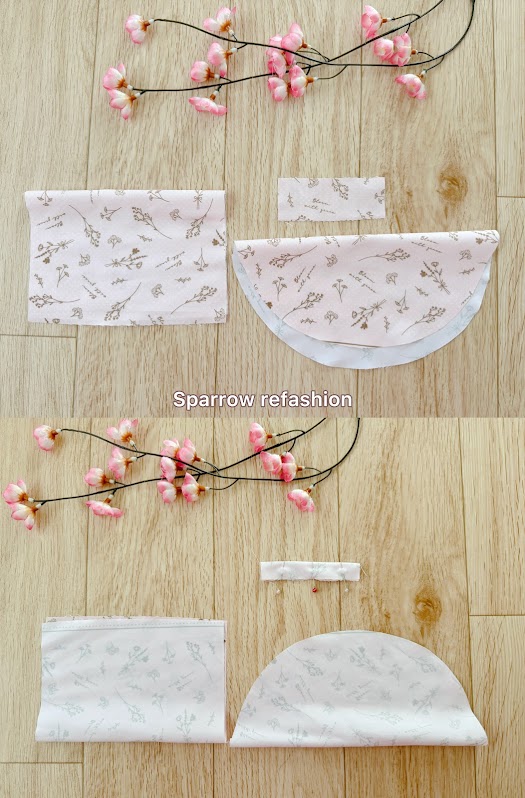
- Sew the long sides together and leave a 4 cm wide gap
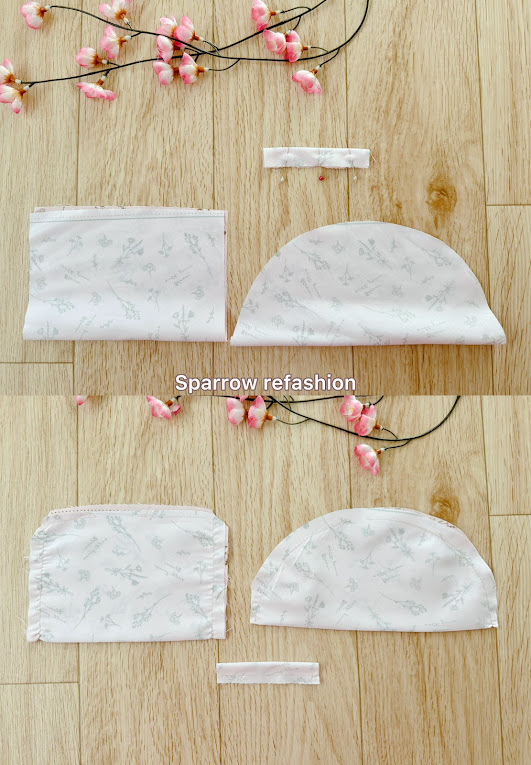
- Turn right side out
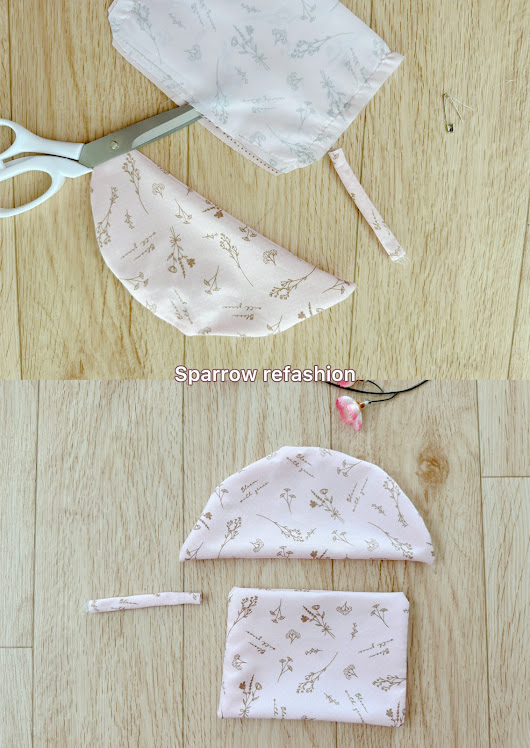
- After turning right side out press flat.
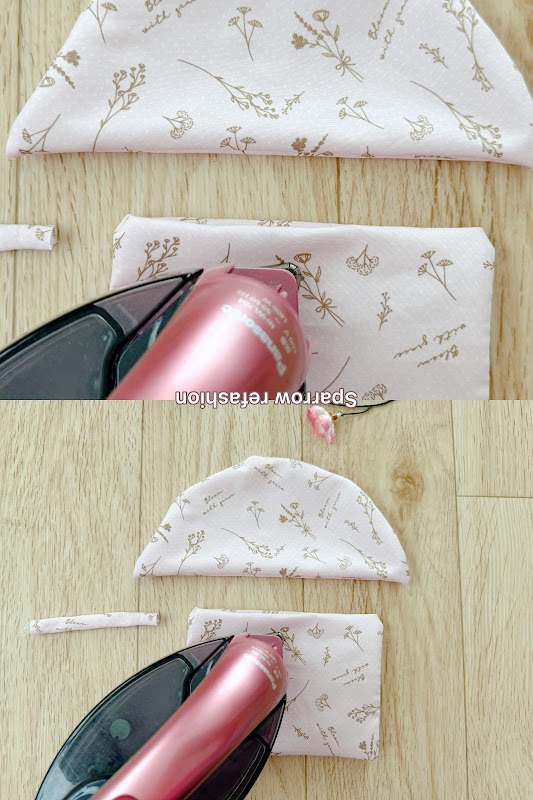
- Place your bow on the center strip ,pin and sew
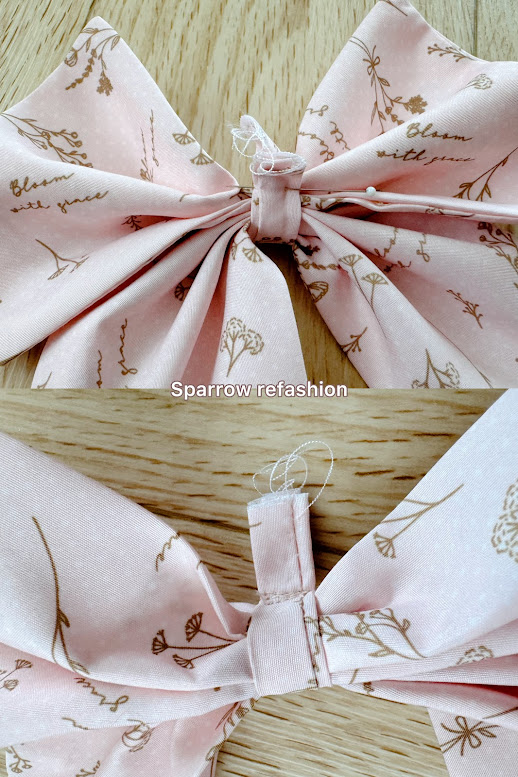
- Cut off excess of fabric.
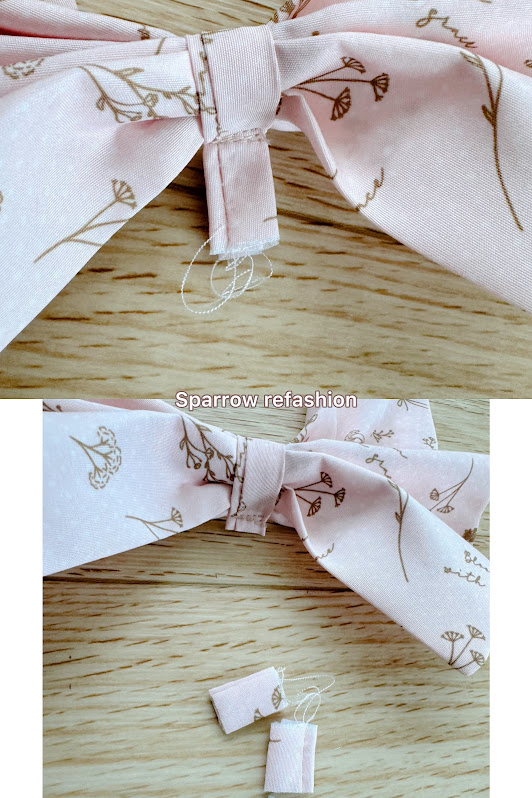
Ready Bow !

Tutorial 3: Decorative Fabric Bow
- Fold the bow piece in half lengthwise with right sides together and stitch down the long edge with a 1cm | 0.39 in seam allowance , press flat

- Fold inward.
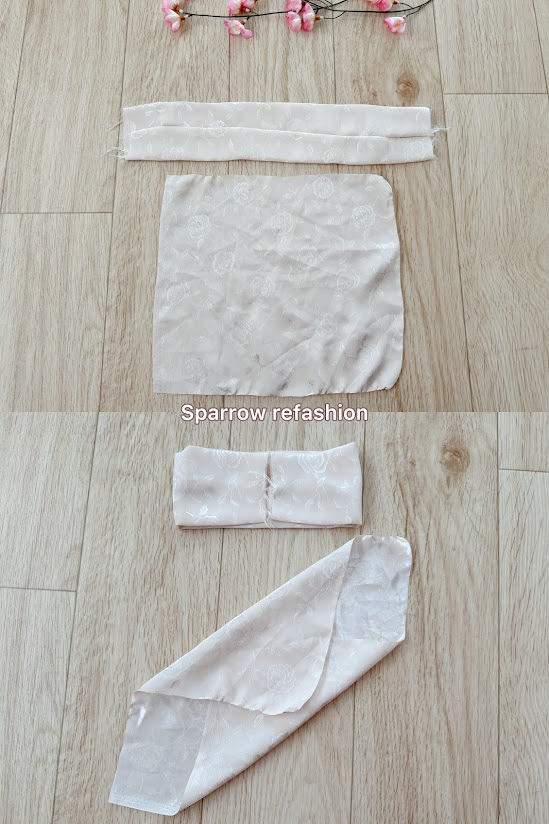
- Pin and sew .
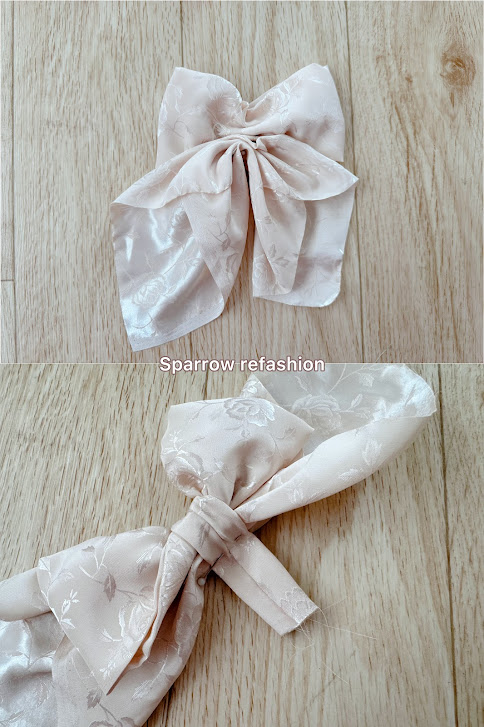
- Cut off excess of fabric.
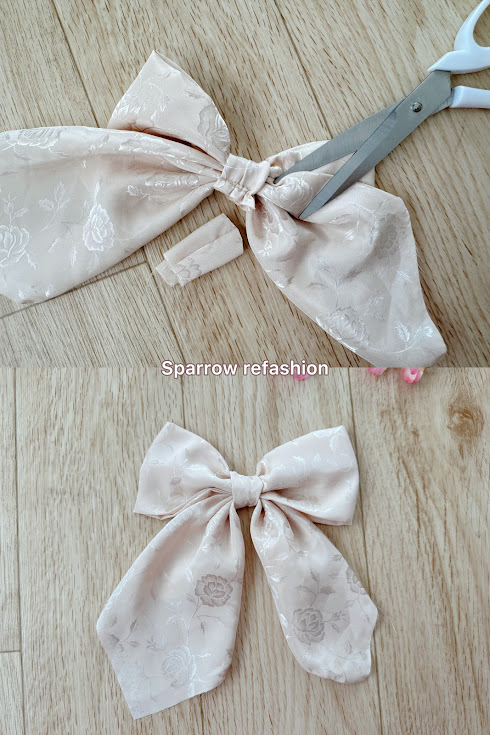
Third type of bow is ready !
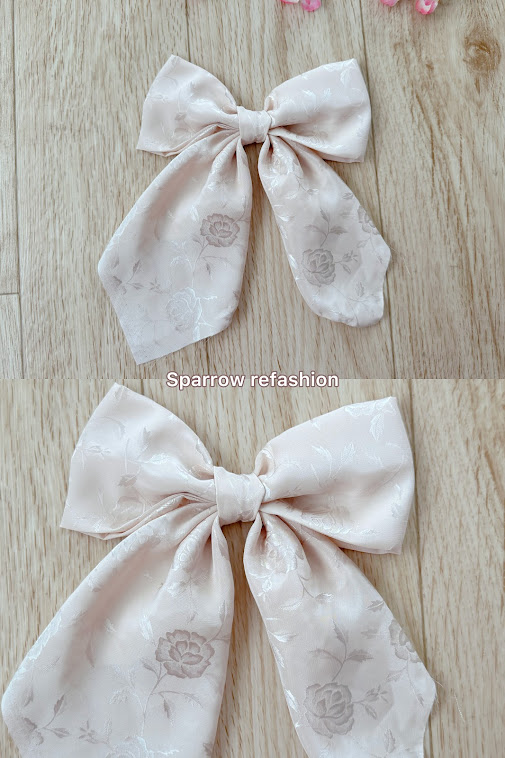
Finishing Touches
To complete your bow, tidy up any loose threads and give it a final press with the iron. You can attach your bow to a hair clip, headband, or garment using hot glue or hand stitching. Get creative with embellishments like buttons, beads, or rhinestones to add extra flair to your design.

Where to Add Bows Inspiration:
Fasten a safety pin to create a bow brooch.

Hand-stitch a bow to the neckline of a dress or top.
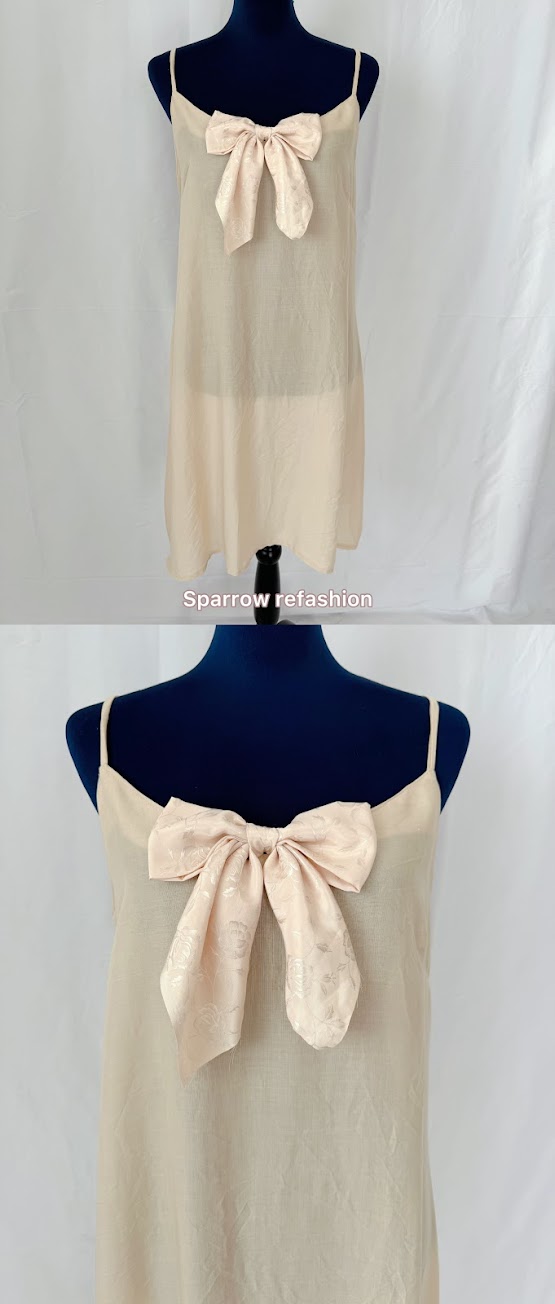
Embellish a bag with one or more bows for a custom flair.

Ready Fabric Bows !

Congratulations on completing your fabric bow creations! I hope this tutorial has sparked your creativity and added a new skill to your crafting repertoire. Remember, practice makes perfect, so don’t hesitate to revisit my free patterns and refine your technique. Share your beautiful bows with us using the hashtag #sparrowrefashion, and stay tuned for more fun, easy-to-follow DIY projects!
In this post, you have learned how to make fabric bows with free patterns.
This post has affiliate links * Affiliate Link. This means that if you click on the link and purchase an item, I will receive a small percentage of your purchase (at no extra cost to you).
